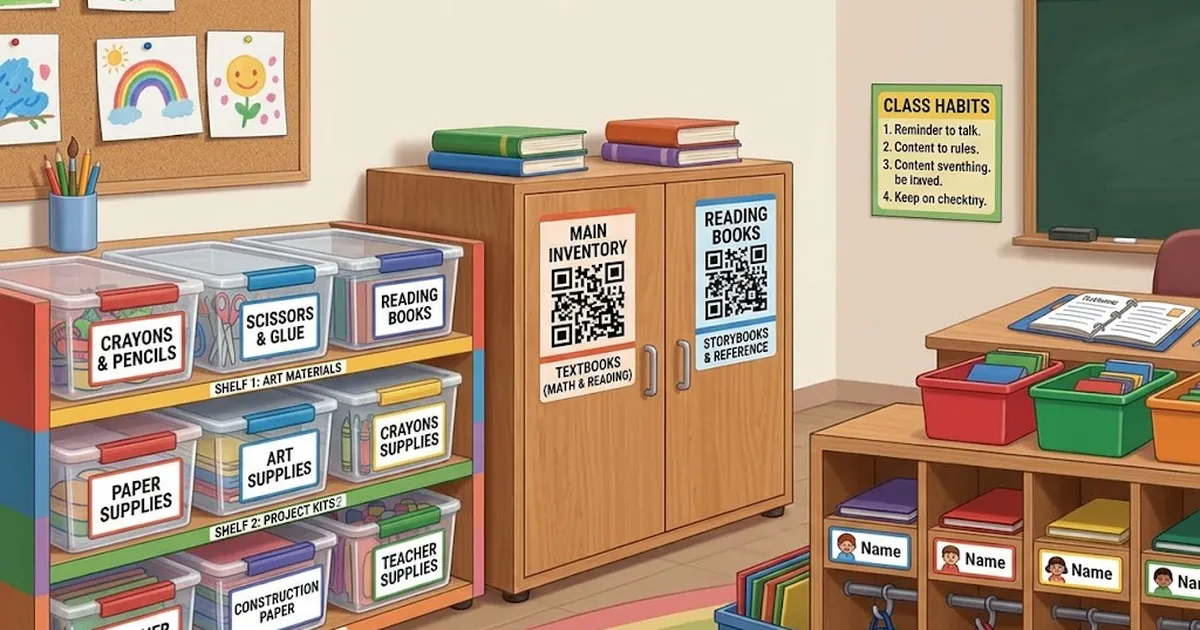
If your garage, closet, or storage unit is filled with identical plastic bins and you can never remember what’s inside without opening every single one, you’re not alone. This is one of the most common organization problems people face — and one of the easiest to solve with a small shift in approach. Instead of relying on memory, sticky notes, or vague handwritten labels, more households and small businesses are turning to QR code storage labels to build a searchable, scalable system for their bins.
This guide walks through exactly how to set up a QR-code-based organization system for storage bins, step by step, along with the reasons it works better than traditional methods.
Why Traditional Bin Labeling Falls Short
Most people start with good intentions: a marker, some masking tape, and a plan to label everything neatly. The problem shows up months later. Ink fades. Tape peels. Bins get restacked, and the label facing outward is no longer accurate. Worse, a handwritten label can only hold a few words — “kitchen stuff,” “kids’ toys,” “cables” — which rarely tells you what you actually need to know when you’re searching for something specific.
The core limitation is that a written label is static. It cannot be updated without physically replacing it, and it cannot be searched. If you have more than a handful of bins, you end up doing what most people do: opening lids one by one until you find what you’re looking for. That’s not organization — that’s just guessing with extra steps.
What Makes QR Code Storage Labels Different
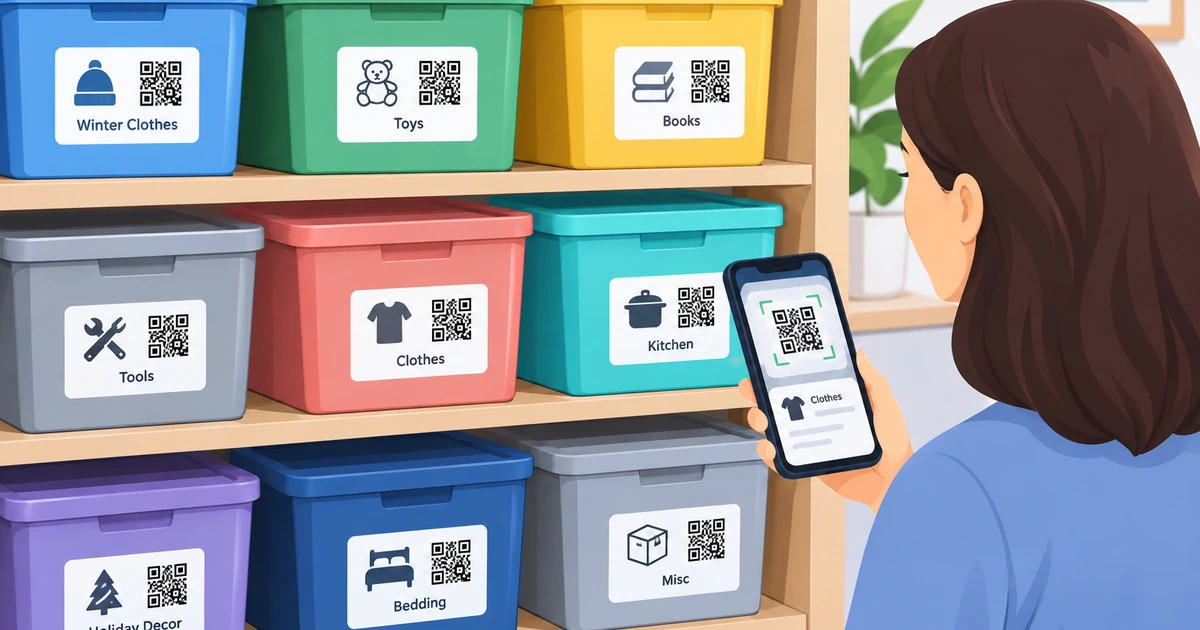
A QR code label solves this by separating the physical label from the information itself. The label on the bin doesn’t need to say much — it just needs to be scannable. All the actual detail lives in a digital record connected to that code, which you can update anytime from a phone, without ever touching the sticker again.
This means a single small QR code on a bin can link to:
- A list of everything inside
- Photos of the contents
- Notes about condition, quantity, or location
- Keywords and categories for searching later
Instead of remembering what’s in bin #14, you scan it and see the full contents instantly. Instead of digging through a stack of bins in a storage unit, you search a keyword on your phone and get pointed to the exact one you need.
Step 1: Sort Before You Label
Before any label goes on any bin, take the time to actually sort your items into logical groups. This sounds obvious, but it’s the step most people skip, and skipping it undermines everything that follows. Group items by:
- Room or area (kitchen, garage, office)
- Season (holiday decorations, summer gear, winter clothing)
- Frequency of use (daily items vs. long-term storage)
- Category (tools, electronics, documents, sentimental items)
A QR code system only works as well as the organization behind it. Scanning a code that opens to a vague, disorganized list defeats the purpose.
Step 2: Choose the Right Bins
Uniform, stackable bins make the biggest visible difference in a storage space. Clear or semi-clear bins help with quick visual checks, but even opaque bins work perfectly well once QR labels are involved, since you’re no longer relying on seeing through the plastic to know what’s inside.
When choosing bins, consider:
- Size consistency, for easier stacking
- Weather resistance, if stored in a garage, basement, or shed
- Weight limits, especially for bins holding books or tools
Step 3: Apply QR Code Storage Labels to Each Bin
Once bins are sorted and filled, apply a QR code label to a consistent, visible spot on each one — typically the short end or top, so it stays scannable even when bins are stacked. Consistency in placement matters more than people expect; if labels end up in random spots, you’ll waste time hunting for the code itself.
For labels to hold up long-term, look for ones that are:
- Water-resistant, so moisture doesn’t degrade the code
- Made of durable material like vinyl, which resists tearing
- Coated for scratch resistance, since bins get moved and stacked repeatedly
Step 4: Build the Digital Record for Each Bin
This is the step that makes the entire system worthwhile. As each label goes onto a bin, take a few minutes to populate its digital entry with:
- A short description of the contents
- Photos, especially for bins with mixed or less obvious items
- Keywords you’re likely to search later (for example, “extension cords,” “winter boots,” “tax documents 2023”)
- The bin’s physical location, if you have multiple storage areas
This step takes a little longer upfront than a quick handwritten label, but it’s where the real time savings come from. Every future search benefits from the effort spent here once.
Step 5: Keep the System Updated
The biggest reason organization systems fail over time isn’t the initial setup — it’s neglect. Bins get repacked, items get added or removed, and if the digital record isn’t updated to match, the system slowly becomes unreliable, just like a handwritten label would.
Make it a habit to update a bin’s digital entry any time you significantly change its contents. Because QR code storage labels separate the physical label from the data, updating is quick: open the app, edit the entry, and the physical label never needs to be touched or replaced.
Best Practices for Long-Term Success
A few additional habits make a QR-based storage bin system even more effective:
Use consistent keywords. If you tag one bin “holiday decor” and another “Christmas stuff,” searching becomes inconsistent. Pick a naming convention and stick to it across every bin.
Best Customer Review video here : https://www.youtube.com/watch?v=7tyL2YB5Sb
Group by zone, not just category. If you have multiple storage areas (garage, attic, storage unit), tag each entry with its location so search results also tell you where to go, not just what’s inside.
Do periodic audits. Every few months, spot-check a handful of bins against their digital records to catch anything that’s drifted out of sync.
Involve household or team members. If others share the space, make sure they understand how to scan and update entries too, so the system doesn’t rely on just one person’s memory.
Why This Approach Scales Better Than Manual Labeling
The real advantage of QR code storage labels over handwritten alternatives shows up as the number of bins grows. With five bins, almost any system works. With fifty, only a searchable digital system remains fast and reliable. Storage bins organized this way turn a physical search-and-guess process into a quick digital lookup — which matters just as much for a home garage as it does for a small business managing inventory or a nonprofit organizing donated supplies.
Final Thoughts
Organizing storage bins doesn’t have to mean memorizing what’s in every container or digging through boxes to find one item. By sorting thoughtfully, applying durable QR code storage labels, and maintaining an updated digital record behind each code, you build a system that stays accurate and searchable no matter how much storage grows over time. The upfront effort is small; the long-term payoff — never opening the wrong bin again — is what makes the switch worth it.