Home Inventory
Most people can’t actually answer a simple question: what would you list if you had to prove everything you own? A home inventory answers that question before you ever need it — for insurance claims, estate planning, or just knowing what you have so you stop replacing things you already own. This page covers how to build a home inventory that’s actually useful, not just a one-time list that goes stale within a year.

Track what you own, where it’s stored, and when you need it
Why a Home Inventory Matters More Than People Think
A home inventory usually gets put off because it doesn’t feel urgent — until something happens that makes it urgent all at once.
Insurance claims move faster with documentation. After a fire, theft, or natural disaster, proving what you owned is far easier with an existing record than trying to reconstruct one from memory under stress.
It prevents duplicate purchases. Without a record, it’s easy to forget what’s already in storage and buy replacements for things that were simply misplaced.
It supports estate planning. A clear record of belongings makes things considerably easier for family members handling an estate.
It highlights what’s actually valuable. Many people underestimate the total value of everyday belongings until they see it listed out.

What to Include in a Home Inventory
Not every item needs to be logged individually — the goal is a useful record, not an exhaustive one.

How to Build a Home Inventory Step by Step
The best home inventory system is the one you can keep updated. Begin with one room, use simple categories, and build a record you will actually maintain.
Step 1: Go Room by Room
Working through one room at a time keeps the process manageable and reduces the chance of forgetting entire categories, like garage tools or attic storage.
Step 2: Record the Basics for Each Item
For higher-value items, note the item name, approximate purchase date, estimated value, and any serial or model number. For lower-value grouped items, a general description and estimated total value is enough.
Step 3: Add Photos or Video
A quick video walkthrough of each room, narrating what’s visible, can be faster than photographing every individual item — and still provides strong documentation if it’s ever needed.
Step 4: Store Receipts and Proof of Purchase Separately
Keep digital copies of receipts for major purchases alongside the inventory itself, ideally somewhere accessible outside the home (cloud storage or a separate physical location) in case of fire or theft.
Step 5: Note Where Each Item Is Kept
Especially for anything in storage, attics, or basements, recording location alongside the item saves time later — both for insurance purposes and simply for finding things yourself.

Keeping a Home Inventory Up to Date
The biggest reason home inventories fail isn’t the initial effort — it’s that they’re rarely updated after the first pass.
- Update after major purchases, not just once a year
- Do a full review annually, ideally at the same time each year so it becomes a habit
- Remove items you no longer own rather than letting the list grow inaccurately over time
- Revisit after a move, since locations and sometimes ownership of shared items can change
Making a Home Inventory Easier to Maintain
A spreadsheet works for a basic list, but it depends entirely on someone remembering to keep it updated — which is exactly where most home inventories fall behind. A photo or video record helps, but reviewing hours of footage to find one item isn’t practical when you actually need the information quickly.
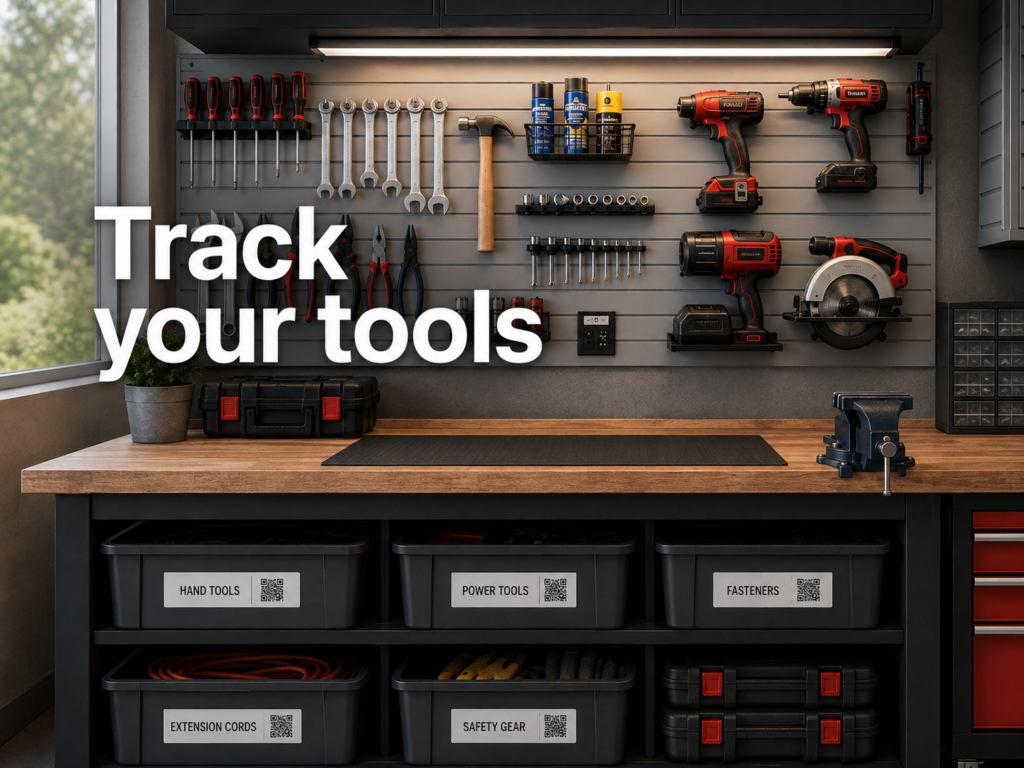
Some people solve this with a more structured system, like Elephant Trax, where individual items or storage bins get a scannable QR tag linked to a digital record — including photos, notes, and location — so the inventory updates as easily as scanning a tag, rather than requiring a separate spreadsheet session.
Whatever method you use, the real value of a home inventory isn’t in having it — it’s in it being accurate the one time you actually need to use it.